

This post covers a couple of styles of ornaments, and might just be a "Part One of... Many." We'll see how many of the ornamental backlog A & I finish by the end of the year. Some of these are just pretty, one of them is themed, but there are ideas that apply across the board, so check out the ideas and keep what works.
You Might Need:
- Empty glass ornaments
- Ribbon
- Stamps pads: StazOn and glue pads or Glue stick pen
- ...glitter
- Felt scraps (nothing bigger than 4" x 4" needed) for the Star Wars ornament
- Fabric glue
Stamped Glass Ball

The trick here is a slight rolling motion when applying the ink, as your stamp is flat and the ball is unflat. A gentle rocking motion (like taking fingerprints!) helps here, with even pressure. Our impression has been that smaller stamps work well here as a large stamp would start to "wrap" oddly over the round surface and distort pretty badly.

If you feel up to it, glue some rhinestones on the stamped parts for emphasis, if it's appropriate to your stamp.
Stamped Glass Ball 2: The Glittering

That having been said, if you are surgical in your precision in applying glitter, the worst of its effects can be addressed. Start by laying out a piece of paper to catch all your glitter. Then, load up your stamp with a glue pad or by lightly rubbing with a glue stick or glue pen. One you've applied glue, sprankle on some fine glitter where you have glue. (Going rangtang with the glitter at this point is unadvisable.) Catch all the excess on your paper and pour it back into your container. If you want to use multiple colors of glitter, I suggest waiting until the glue is completely dry before going for the next or you get sand-art multi-glitter.
A spritz with a gloss sealer spray will tack down your glitter surface and seal it in if you don't want it getting on everything.
 |
| Then totally add rhinestones. I know, it surprised A as well. |


Find ribbon. Find glass ball. Wind a pleasing amount of said ribbon into said ball and continue until full how you like it. A went on to use a bit of the ribbons included here as the way to secure it to the tree as well, but feel free to use a contrasting ribbon, or pack it full of different ribbons. As with the stamp pad ones, these are included as a "Oh, yeah, I could do that" more than anything else.
Star Wars Imperial/Rebel Felt Ornament
This one's to go with your Star Wars snow flake collection (because that's totally a thing). I started by finding a pair of good shots of the Imperial and Rebel logos in black and white and doing my vector tracing thing. This was a first for replicating complicated curved surfaces for me (on the Rebel swoosh) and it turned out pretty well. As always, I've got a version for you to download. This will make a 3.5" ornament, which seemed like a good size to me. (If you want a larger or smaller version, let me know.)


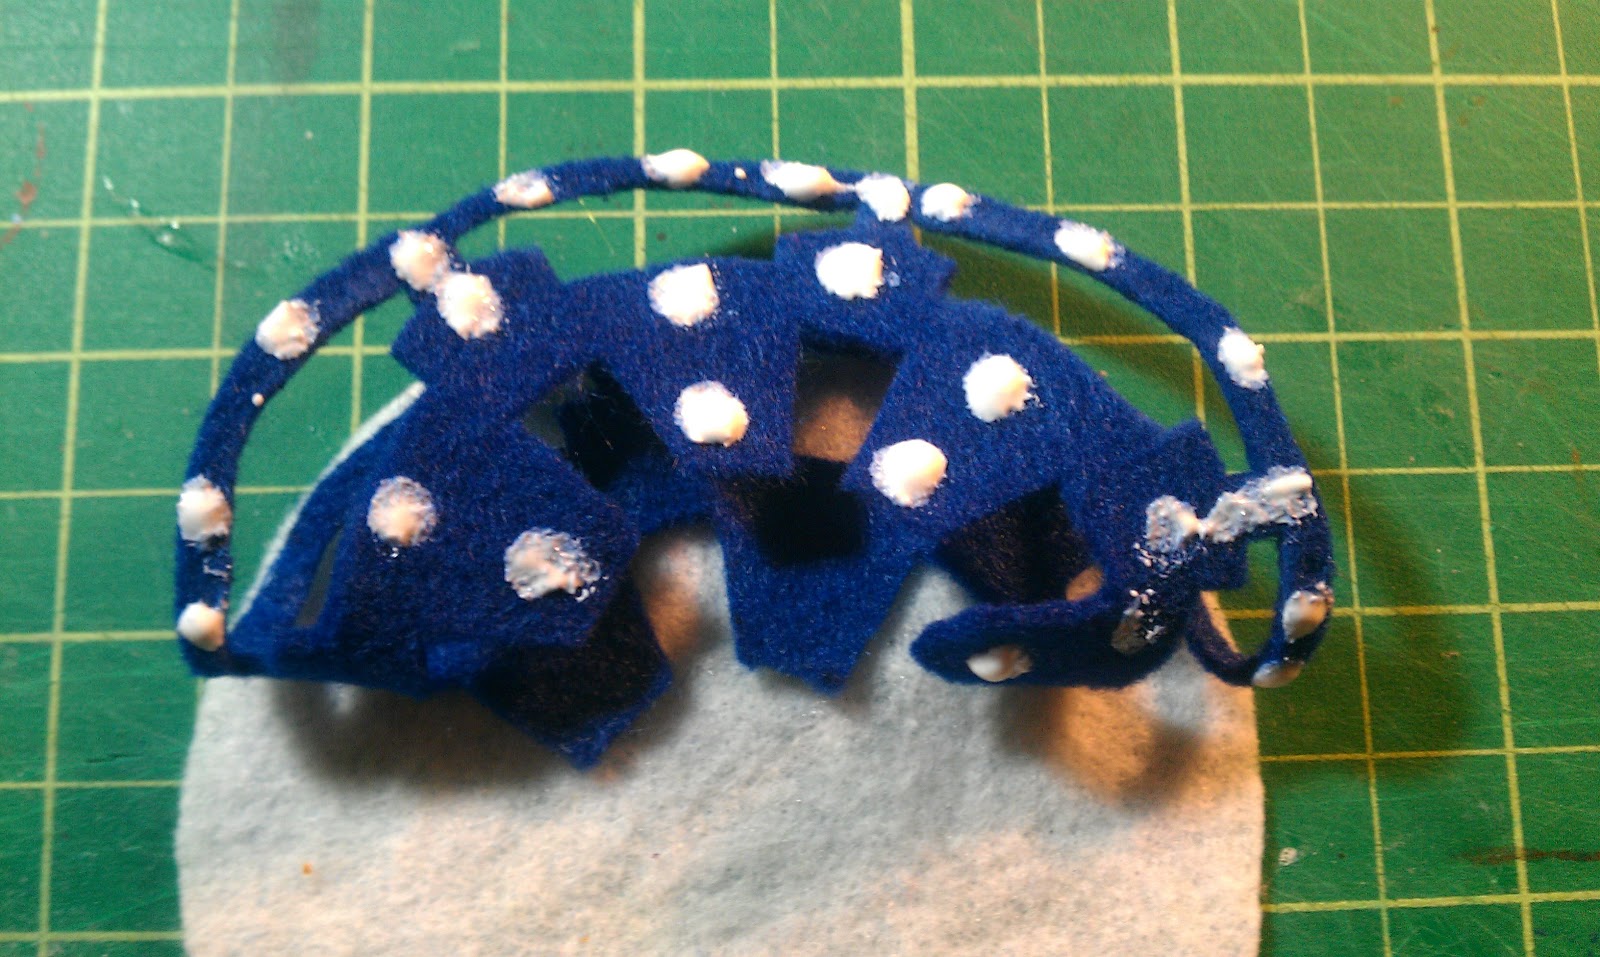
BEFORE you cut out the templates all the way, use the dotted line around the rebel one to cut out two pieces of your white felt backing. You could also use the Imperial one, as both are 3.5" across (or should be. Make sure your printer didn't shrink the template), but I'd already cut mine up pretty good. Then, cut out those templates. The black part will be the felt parts. I held onto the ring around the Rebel one to help me center it on the background later.
Note that I only cut out two sections on my Imperial crest. I did that to limit how much cutting I had to do and to keep from cutting away so much of the template that it got flimsy and floppity later.
Note that I only cut out two sections on my Imperial crest. I did that to limit how much cutting I had to do and to keep from cutting away so much of the template that it got flimsy and floppity later.
 |
| What Sharpie could not do, chalk delivered. |
Now you'll want to trace your parts onto felt. I used a blue for the Empire and red for the Rebels, but hey, it's a free country. I used a combo of chalk and markers to transfer the shapes. Trim your felt parts to match with either scissors or an Xacto knife, working from the inside out. I hade better control with an Xacto, but got cleaner cuts with scissors, so it was 50/50 for me.

Once they're cut out, glue them down with fabric glue. This is the stuff you would normally use for a no-sew hem or something. Technically, any glue could work. I centered the icon, pinned down half, and folded it over to glue it. Then I moved the pins and glued the other half. This helped keep from things getting too shifty...
Once those dry, square up one half with something with lines on it (your cutting mat or a convenient Philip K. Dick collection from the library, maybe) and glue them back-to-back. Press them with something heavy, like the book you just used. Once dry, put a thread loop through the top with a needle and you have your own Star Wars logo ornament. A quick trim around the outside edge keeps everything looking classy.
The ornament could also be stitched and stuffed for that oldschool felt ornament feel, but you'd probably want to enlarge the white field to 4" to make sure you had space for the Imperial crest to fit in the middle without getting too distorted. You could also easily do two Imperial sides or Rebels only, depending on your fictional political leanings.

No comments:
Post a Comment