

Halloween season, folks. Some will say that there's only a month until Halloween, but purists know that it's 13 months until next Halloween, so plan early. If you aren't on the "But next year..." schedule like we are, now's as good a time as any to get started. For the next month, we'll be providing photos of projects, décor ideas, and DIY costume inspiration.
First up is a bit about upgrading dollar store finds to make a classy centerpiece or end table display, the Side Table Graveyard. Making use of those little novelty grave stones so popular in craft stores and dollar joints this time of year, why not have a group of them be something spookier than the sum of its parts? It might even make a good companion to some full-size gravestones in your collection.
You'll Need:
- Little gravestones. Cheap and ugly is fine.
- Acrylic paint. The tubes at a craft store will work great.
- Some brushes, particularly one biggish one you don't like.
- String of lights (blue or purple are ideal)
- Bag of fake spider webs
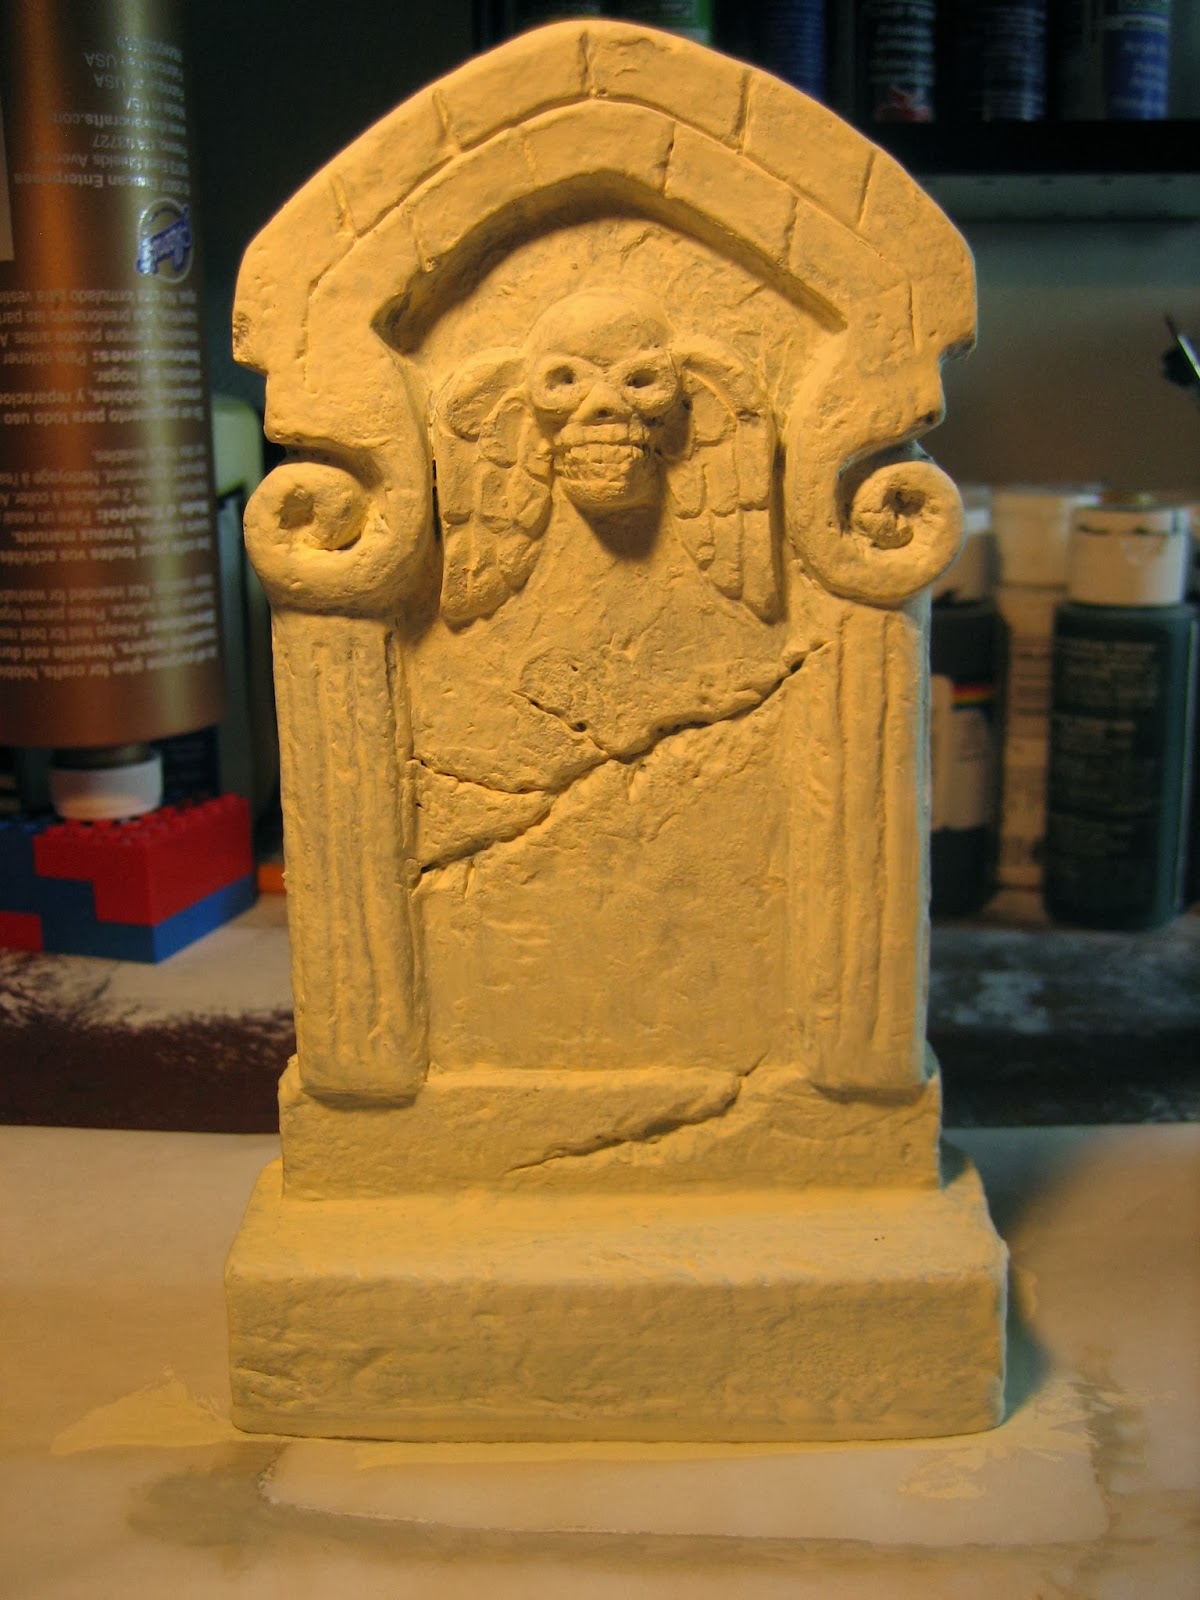
We'll start with the resin or papier mache headstones. Odds are, they're gross or cheaply painted by somebody in the gravestone factory. We can do a little better. Grab your acrylic tubes (greys and greens with a dark gray or black for contrast) and some water and meet me by the first example.
 |
| Ew. |
 |
| Better? |
 |
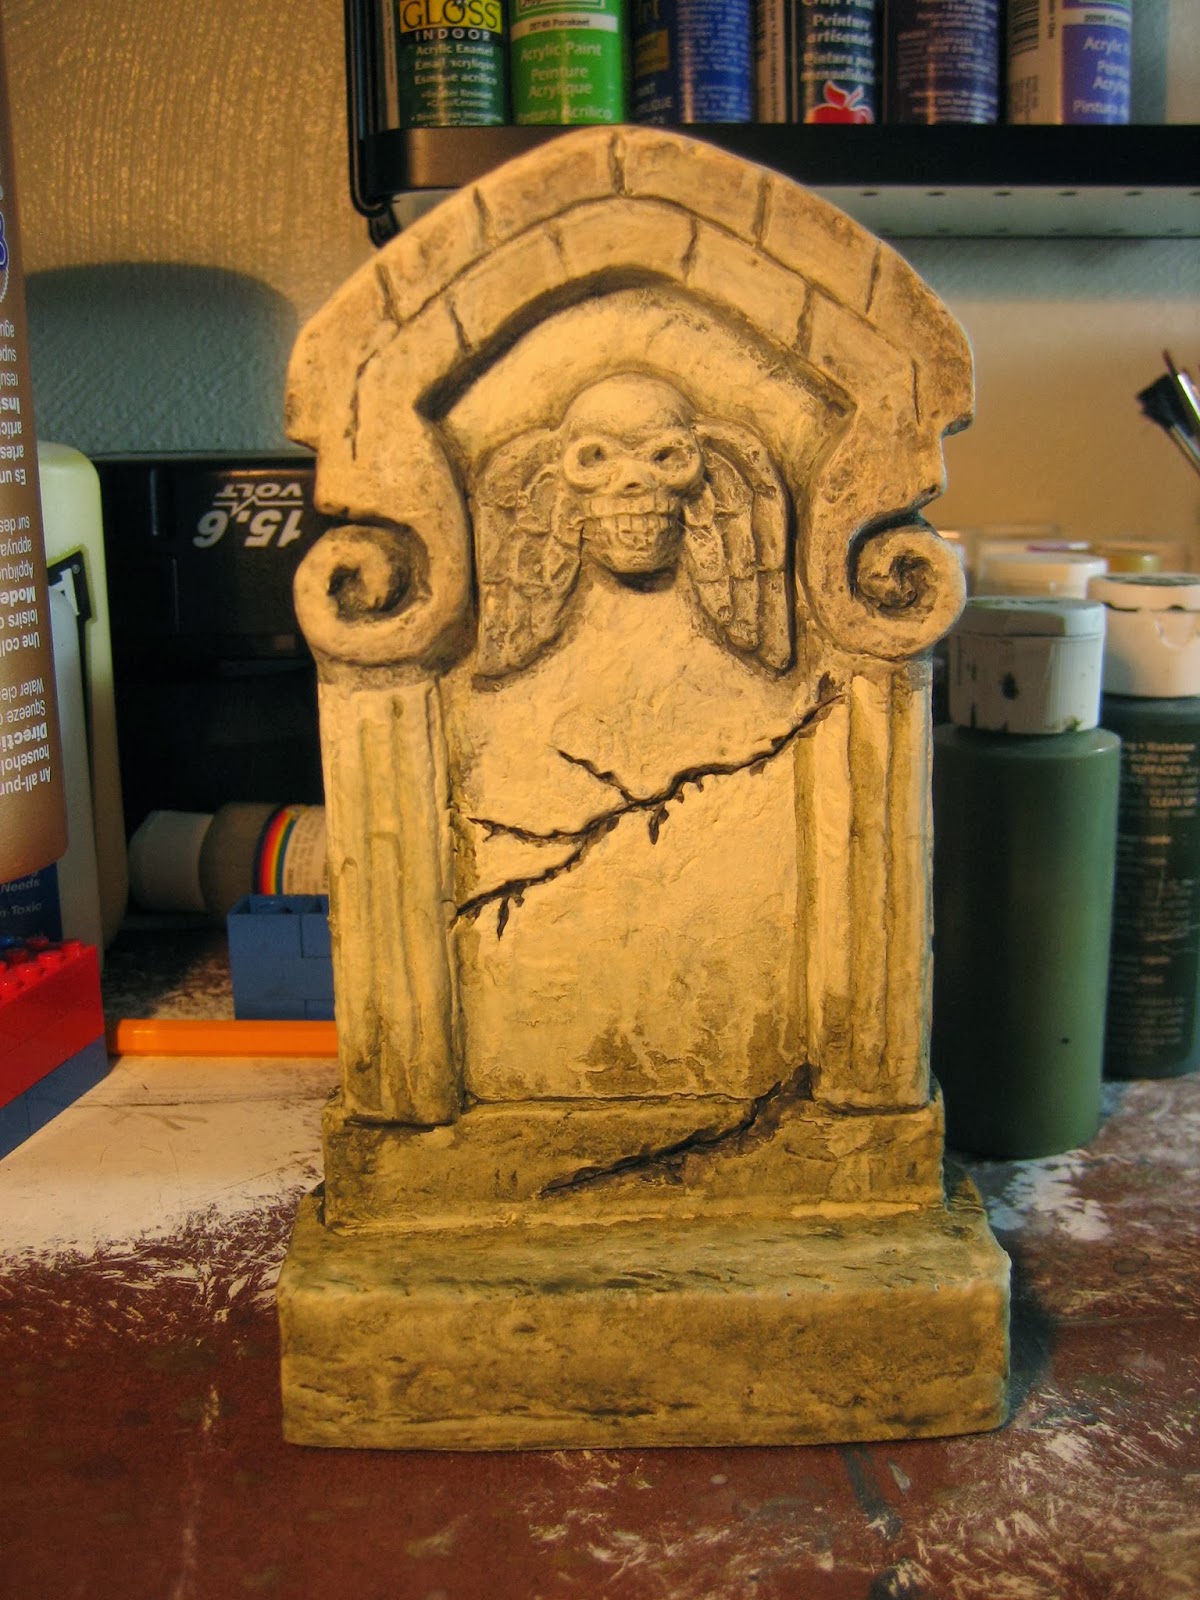
| Better. |
 |
| Messy is still progress. |
By this point, the paint party will have gotten outside the lines. Washes will have run, freehand cracks will be all cracked out. We'll corral that stuff a touch with a quick drybrush of the original ivory. Load up that brush you don't like anymore (or are shortly about to not like anymore) and wipe most of the paint off the bristles onto a paper towel or something. Run this dry brush over the surface of the sculpture, focusing on edges and highlights, and the paint should only come off on the highest points of the piece itself. Bring the highest edges back up to the base color and you're finished!
Now do it ten more times. Maybe less. Some of ours still have their factory paintjob. The really ugly ones get re-painted.
Now you have a small collection of gravestones. Our preferred display method is to arrange them on a table top or end table in a pleasing little clump of creepy. Winding along the bases of the gravestones is a string of blue or purple lights. These will get covered, so sometimes to help convince them not to wander off we'll tape them in place for the next step.
 |
| You know that one along the back. The ghost in the front also got repainted. |
We don't always use them this way: some years, the gravestone tableau is lit with candles and electric tealights. Just tuck the battery operated tealights behind each of the gravestones and the faces of the rest are lit with the little LED flicker.
 |
| Thrift store candlesticks, quilt remnant fabric tablecloth, borrowed old farmhouse. |
No comments:
Post a Comment